Grilled Veggie Pizza for July 4th with Red Star Yeast
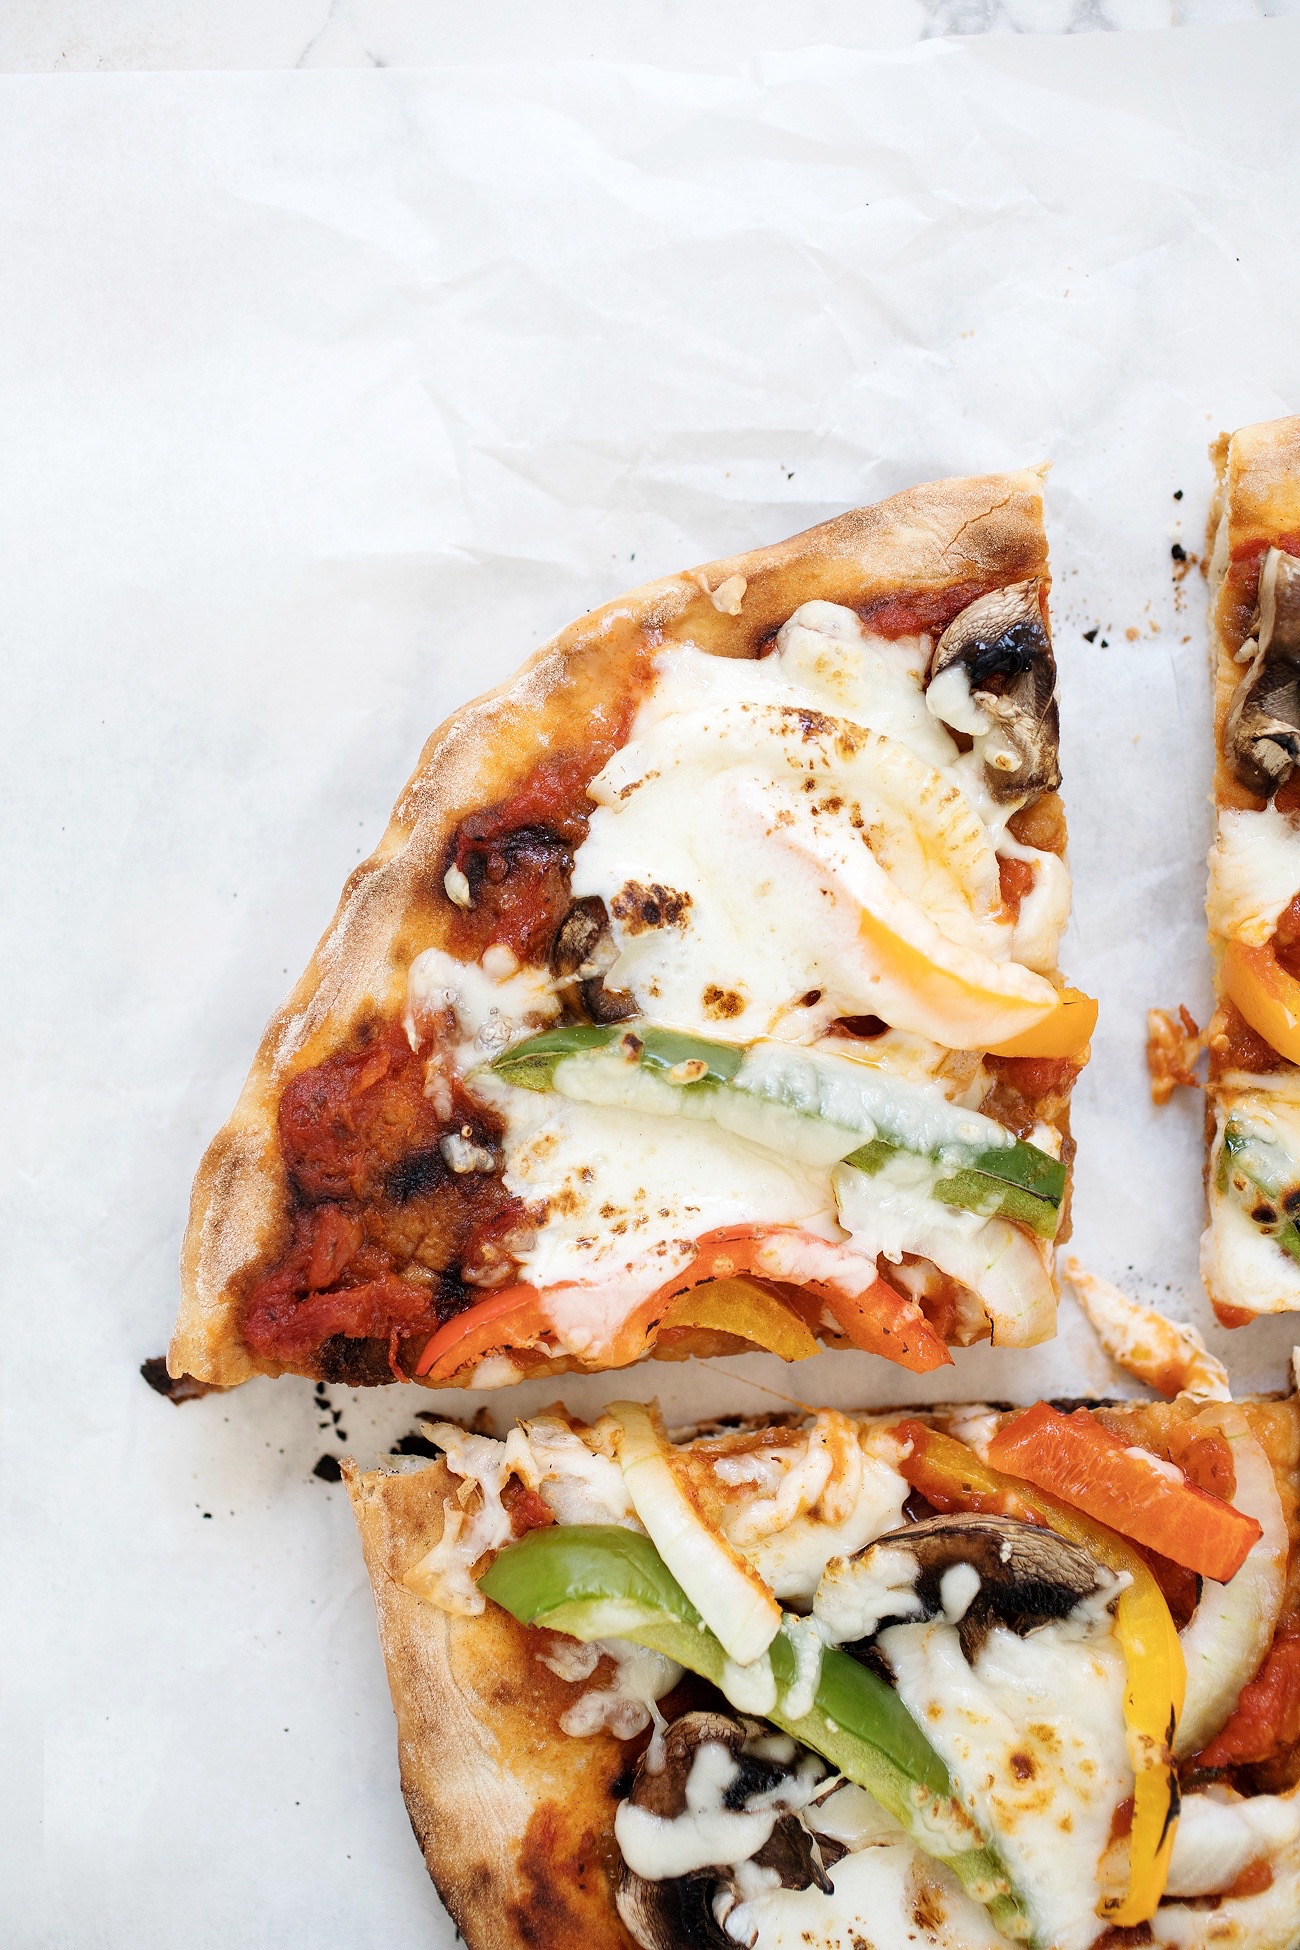
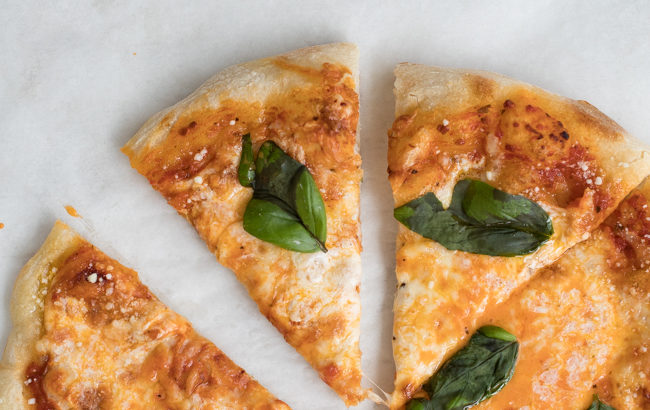
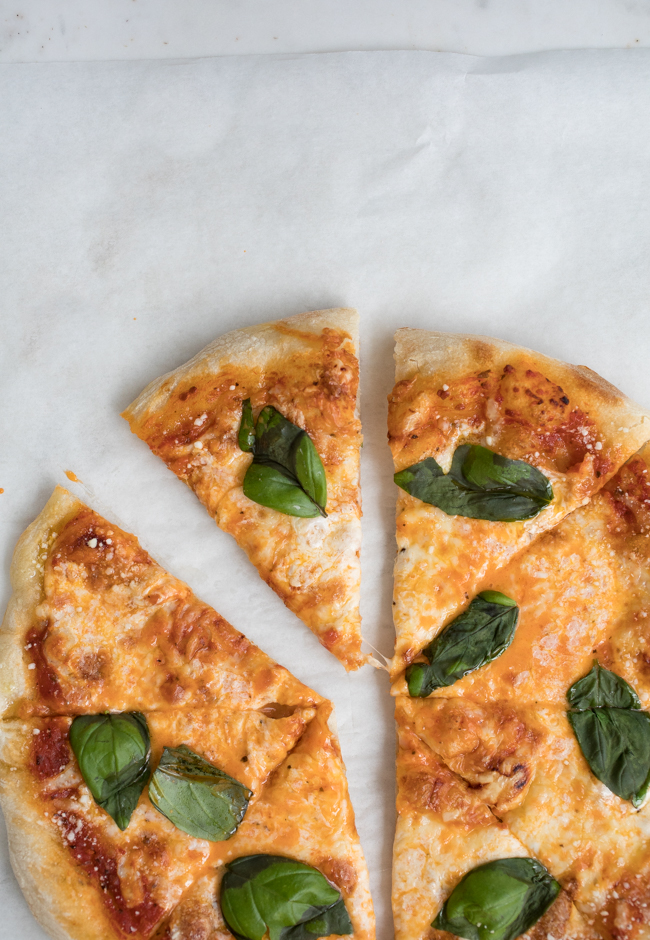
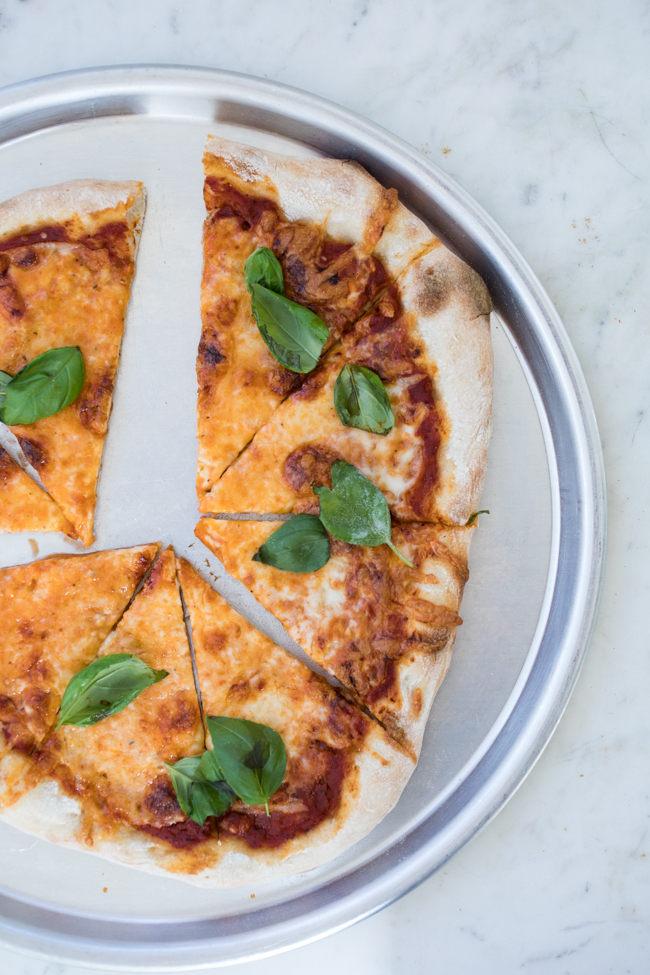
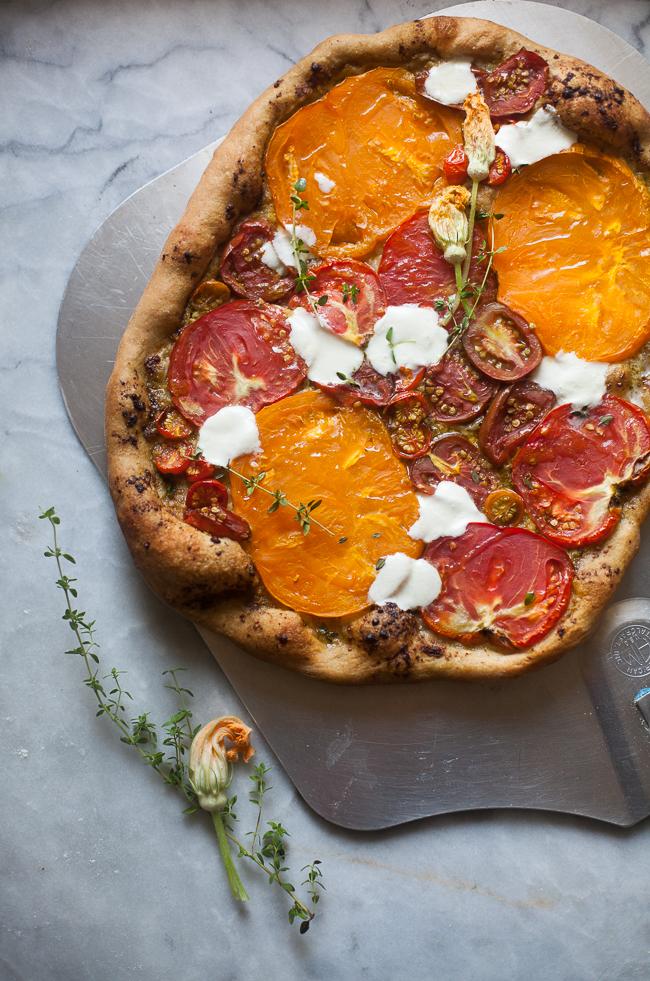
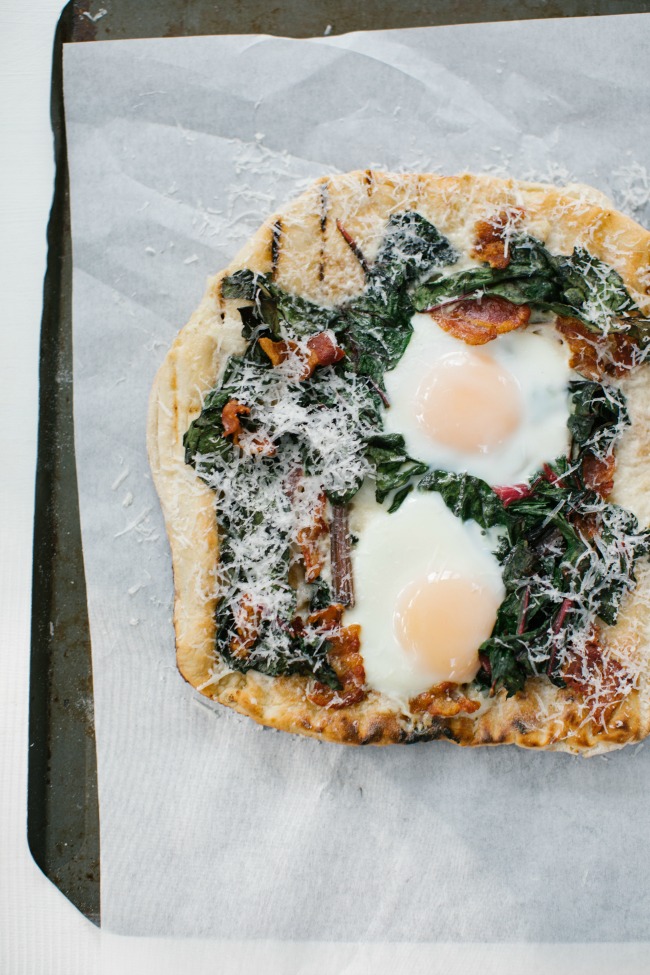
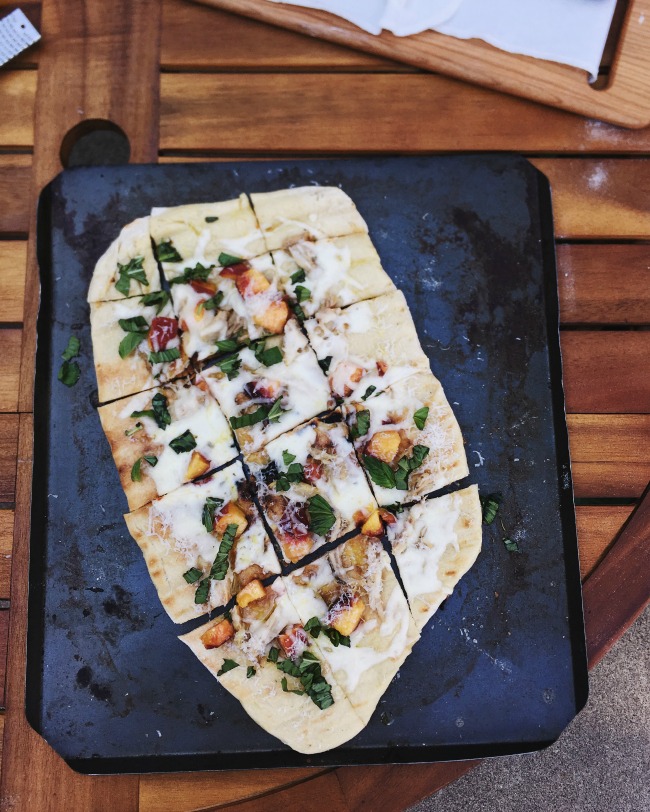
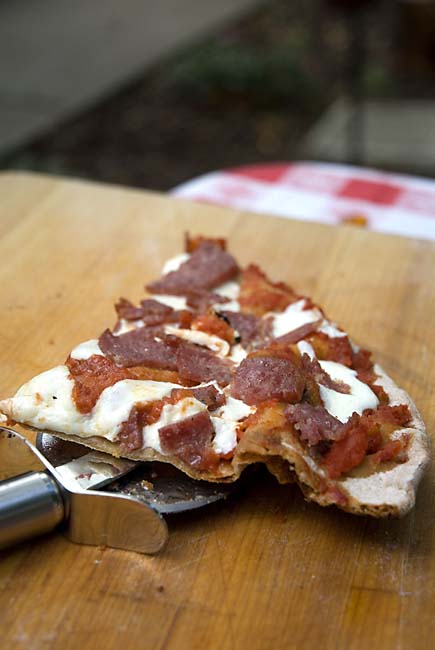
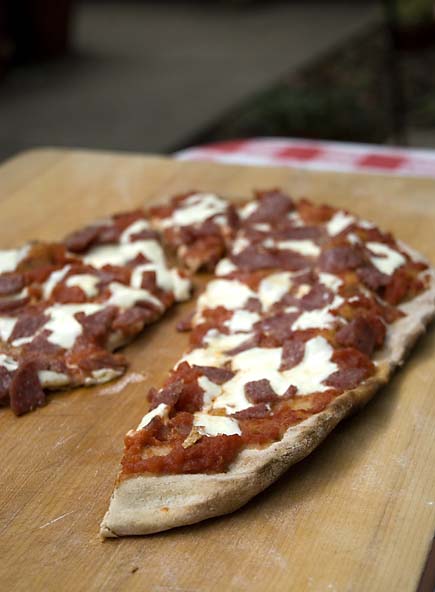
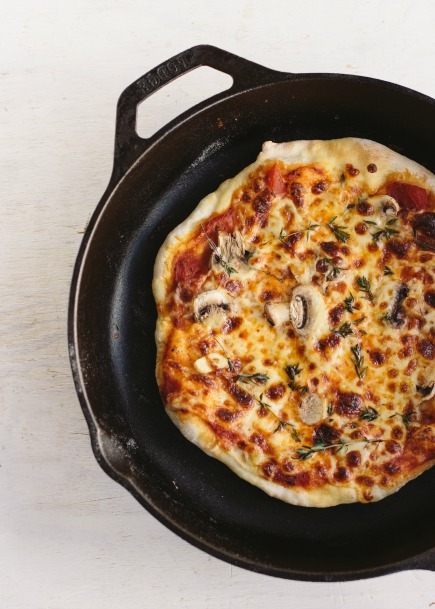
Grilled pizza is a favorite summer pastime for us; we have spent many hot summer days making everything from Pesto Pizza to Breakfast Pizzas. Today we want to share one of our favorite pizzas with you: Grilled Pizza with Summer Veggies. We keep our crust crisp by grilling one side, flipping it, and then adding just enough fresh veggies and cheese. Eating a slice of warm, grilled pizza is truly magical.
Below you will find our directions to making pizza on the gas grill. Please note that we do call for a baking stone in our recipe, but you can attempt this right on the grates if you don’t have one (but a baking stone does make things a little easier). If you only have a charcoal grill, we have a post here on how to use that.
If you head to our Breadin5 Instagram page, you can watch our reels and see us make the pizza on the grill!
(Need a refresher on grilling pizzas? Check out all our tips and tricks here.)

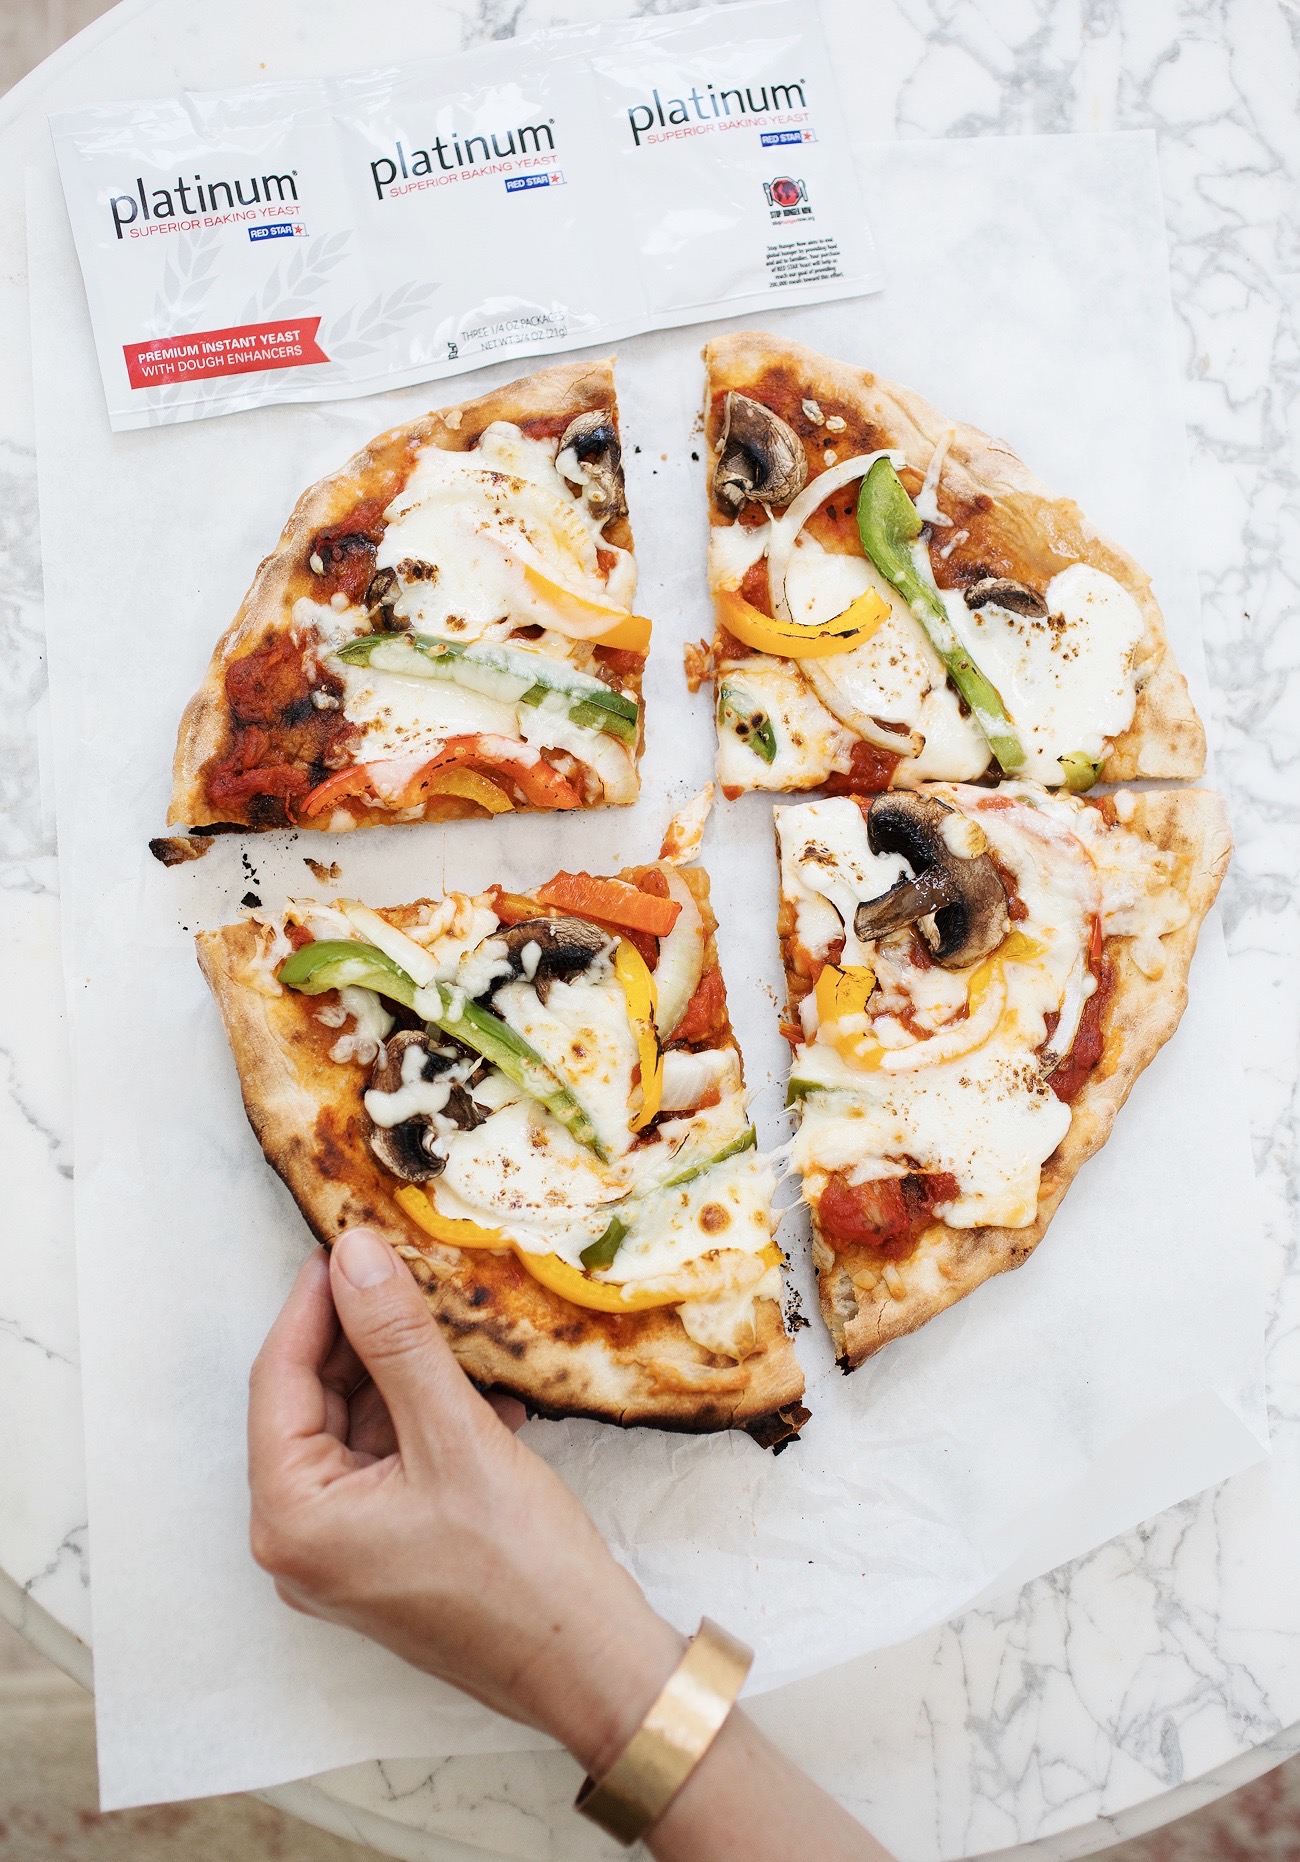
Grilled Veggie Pizza
Pizza Dough
3 cups lukewarm water
1/8 cup olive oil
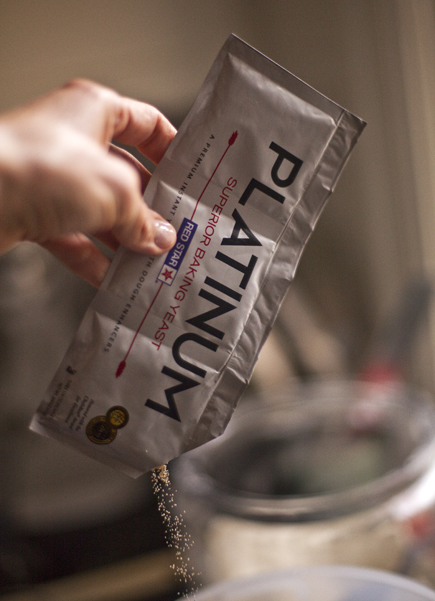
1 tablespoon granulated yeast
1 tablespoon sugar or honey
1 tablespoon kosher salt
7 cups bread flour
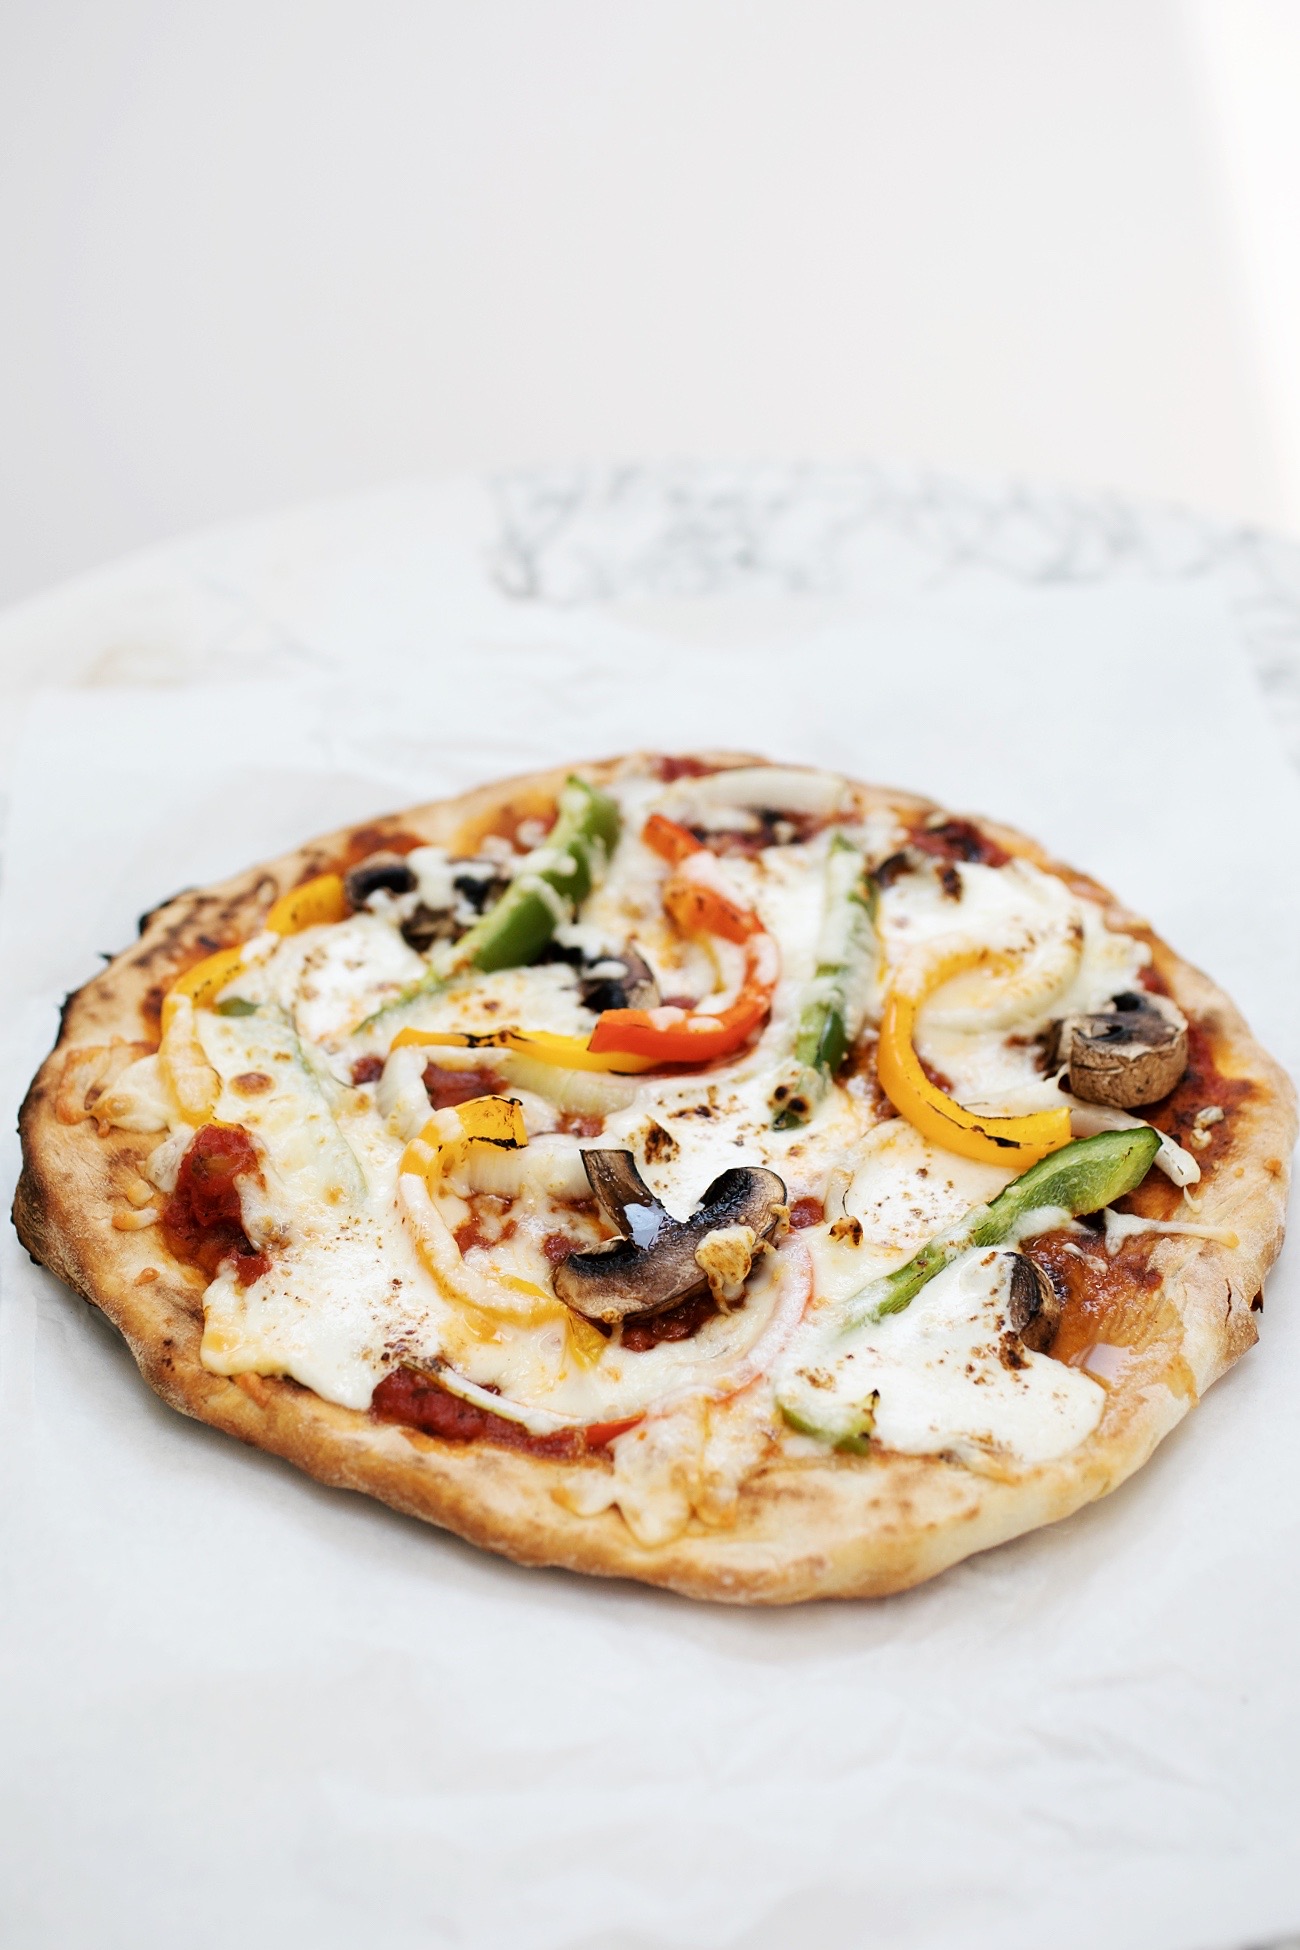
Ingredients for finishing
1/3 cup pizza sauce
1/2 cup of bell peppers (we used a mixture of green, red, and yellow), sliced thin
1/4 cup yellow onion, sliced thin
1/4 cup mushrooms, sliced thin
3/4 cup mozzarella cheese, shredded
For the dough
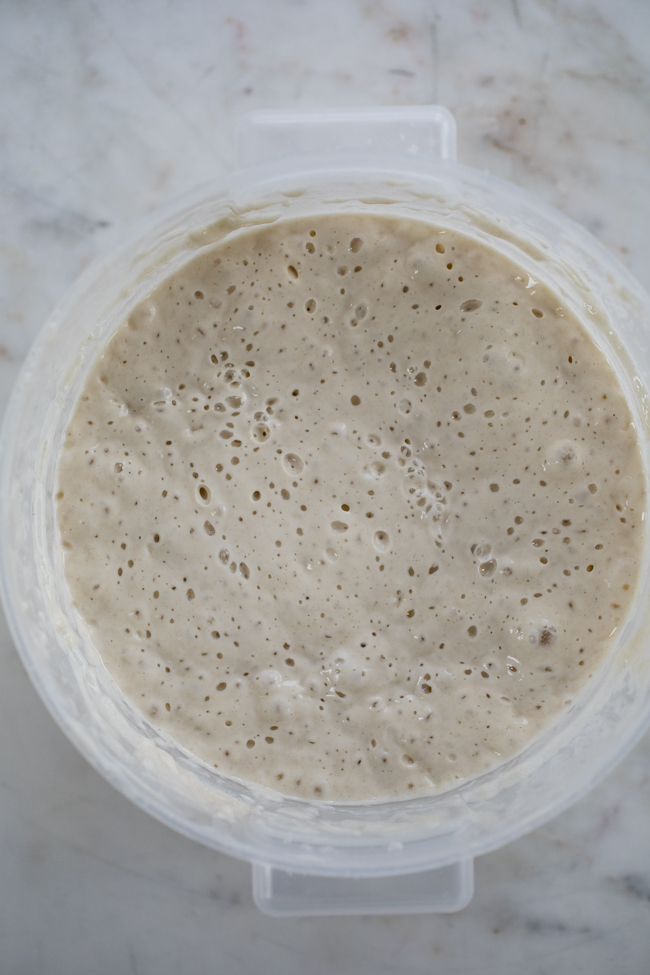
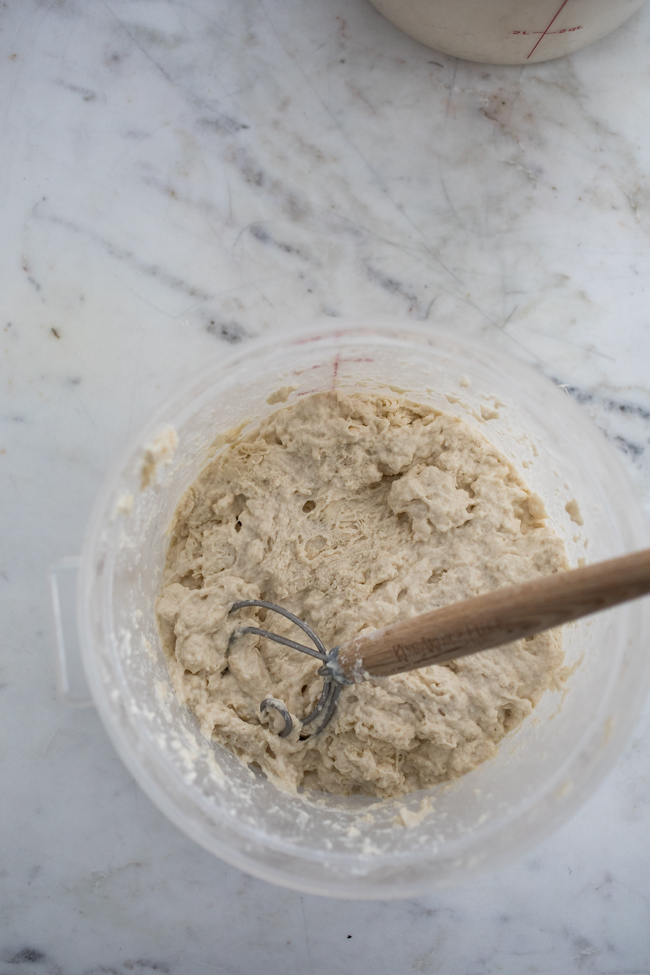
Combine the warm water, olive oil, yeast, sugar, and salt in a 5-quart bowl; preferably, in a lidded (not airtight) plastic container or food-grade bucket. Mix until all of the flour is incorporated using a stand mixer or dough whisk. Cover, and allow to rise at room temperature for 2 hours. You can use the dough right away, or refrigerate it for up to 14 days.
To Grill the Pizza
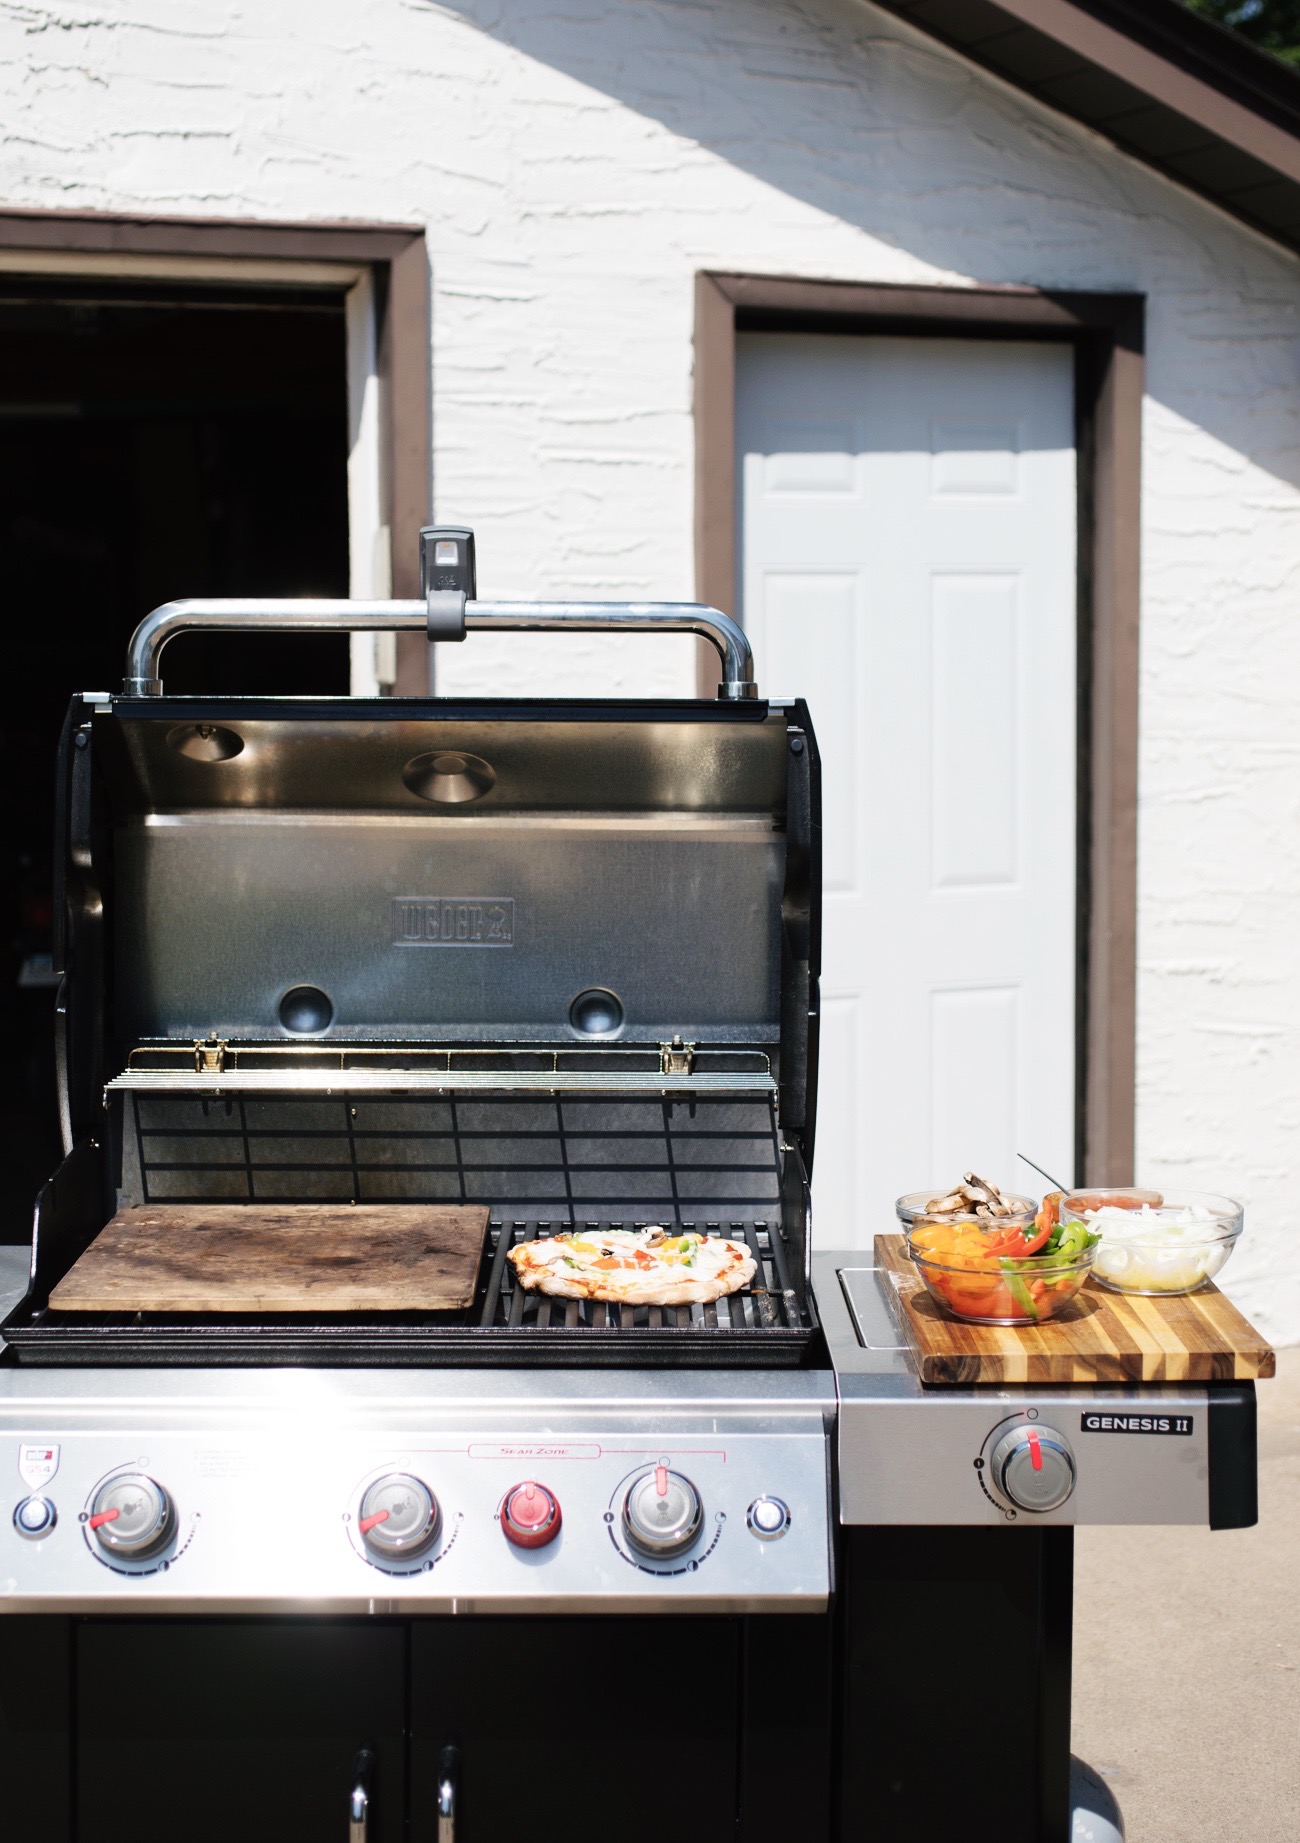
Heat your gas grill: Place a baking stone on the primary burners. Turn all burners to high and let heat up for 20 minutes. After they have heated, turn the side without the stone down to low heat.
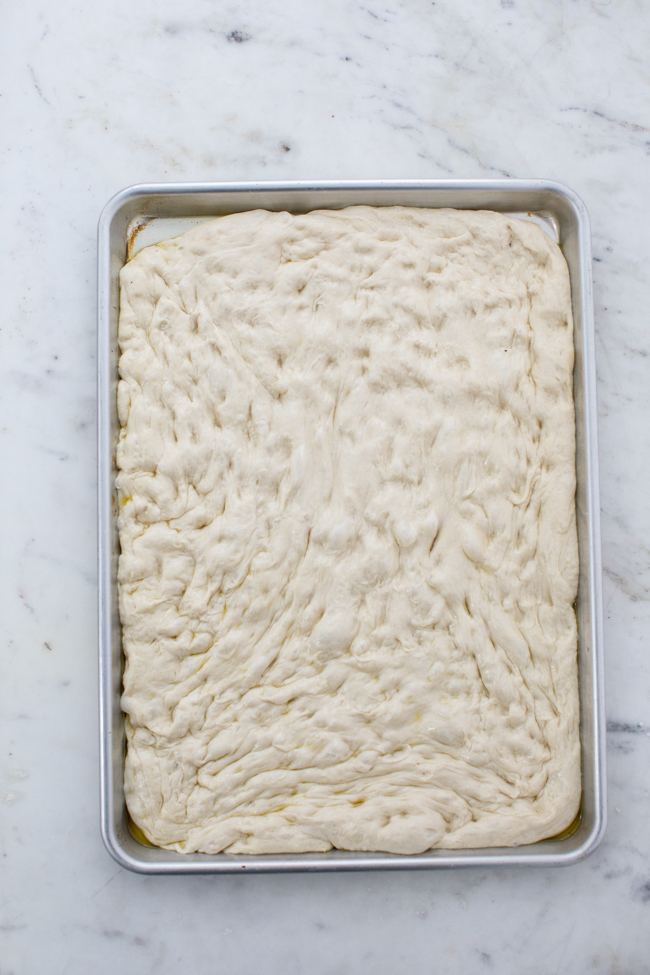
While your grill is heating, pull out a 10 ounce piece of dough from your bucket and quickly form it into a ball. Let it sit on the counter while you gather your toppings.
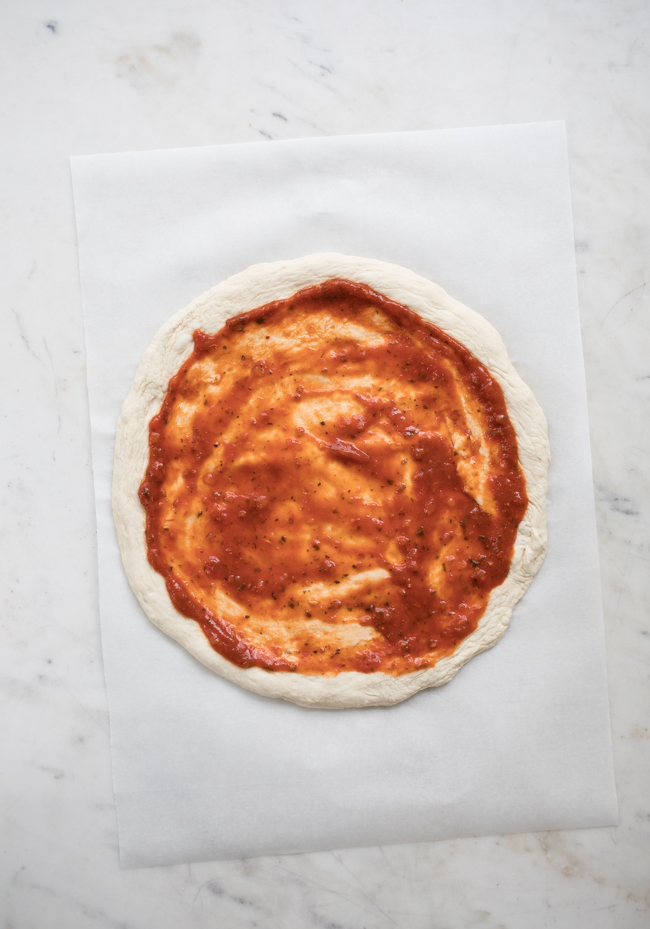
Roll the ball out into a 1/8-inch-thick round. If the ball is resisting just let it sit for about 5 minutes and it will relax and allow you to work with it.
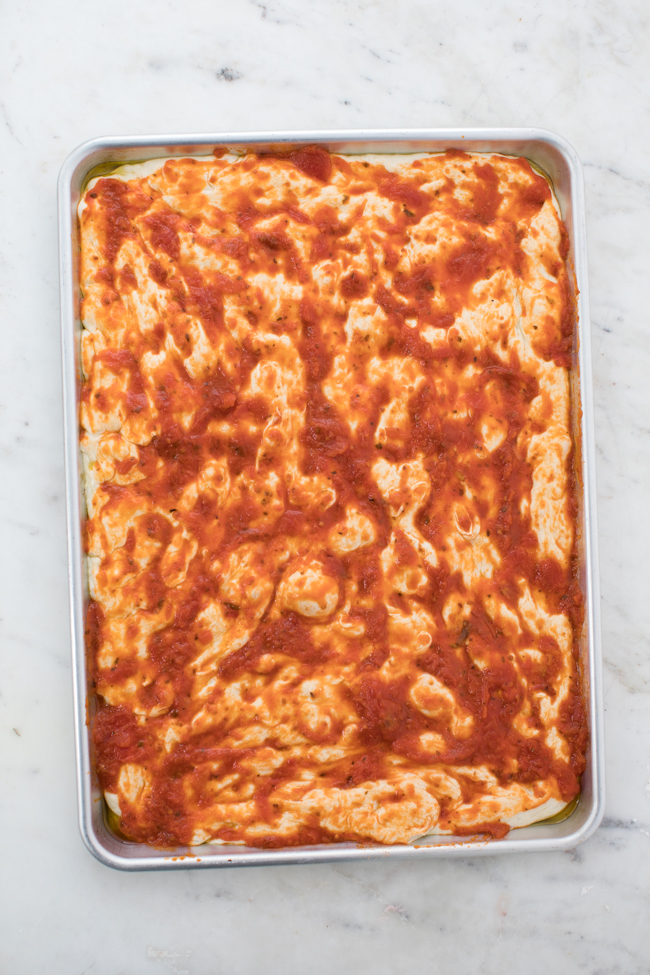
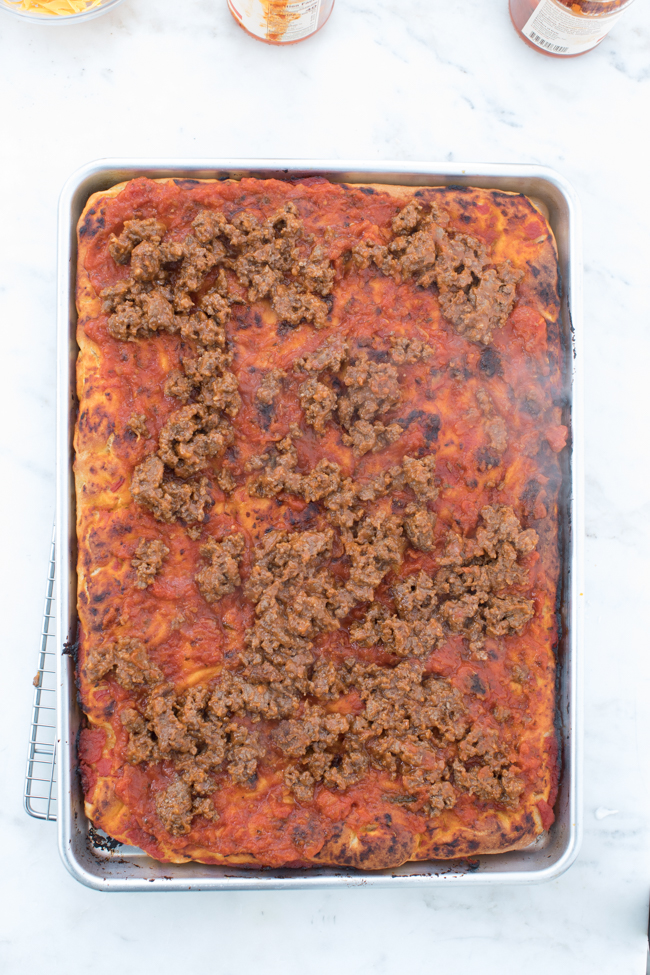
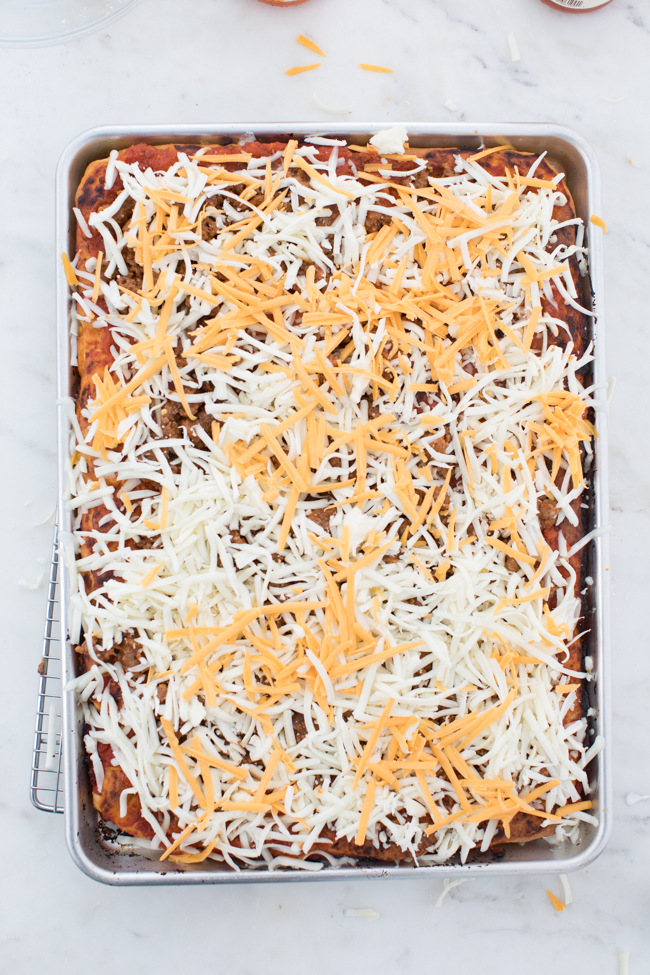
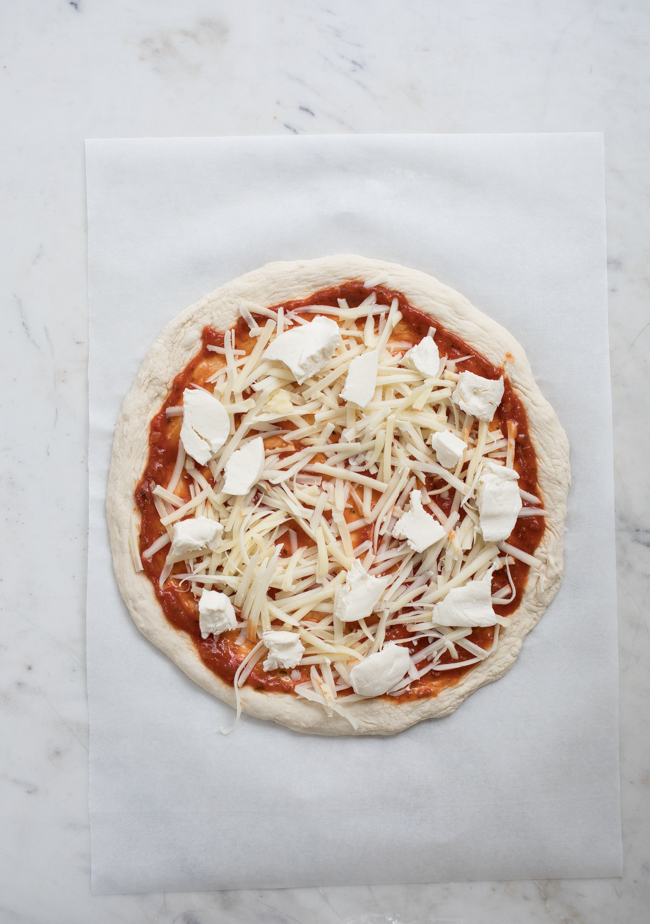
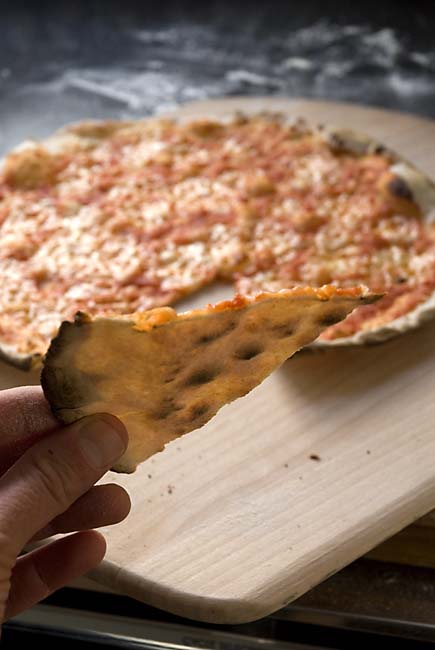
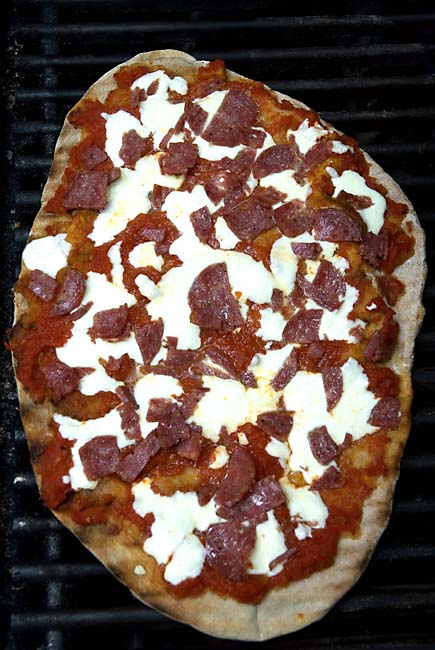
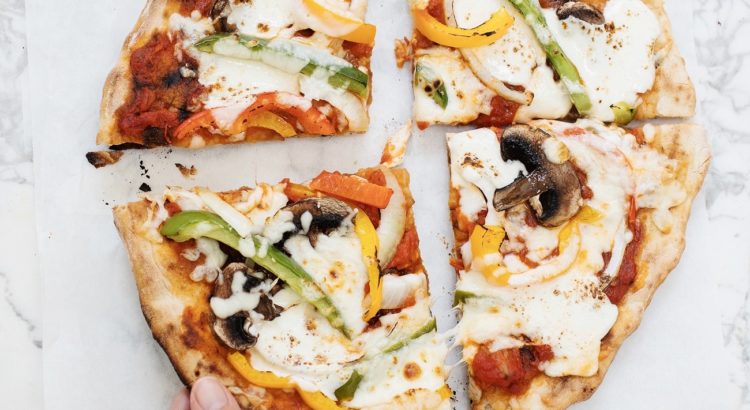
Using a floured pizza peel, place the shaped pizza dough over the pizza stone. Let it cook there until the top starts to bubble and the bottom creates a char to your liking. Remove the pizza from the grill and place on a nearby work surface. Making sure the charred-side is up, top your pizza: cover the pizza with sauce, veggies, and then the cheese.
Then, using your pizza peel, bring the pizza back to the grill, and finish cooking. Place over the hot side again, keeping a very careful watch. As soon as your char-marks look great, slide the pizza over to the cool side and cover the grill. Let cook for 4 to 10 minutes, until the cheese has melted. Remove the pizza from the grill, move to a wire rack, and let cool for a minute or two. Slice into pieces and serve.
Tip: If your pizza cheese won’t brown on the grill, you can use a kitchen torch to give it some color.
Note: Red Star Yeast provided yeast samples for recipe testing, and sponsors BreadIn5’s website and other promotional activities. This website is reader-supported; BreadIn5, LLC earns affiliate commissions when buying products through links on this website.